Tuesday, 1 April 2014

Lobster Bisque

I received the best Christmas present this year- my dad got me six cooking classes at C’est Bon cooking school, and it’s just WONDERFUL. The chef trained in France, and the other chef who helps her trained in Switzerland. They speak French, and I basically spend every Saturday morning now living out my fantasy life as Sabrina, and immerse myself in their knowledge for several hours. 

Finished product, with a melting quenelle. 
My first stop on the way home from the class is the grocery store, so I can utilize all my new skills. I practice with my knives when I get home, I hang on every word the chef says, and I’m quite certain that if I ever left the charity world, I’d put myself in the Cordon Bleu as quickly as I could.

That all being said, I am in a basic class, which is a requirement of the school. My level of ego can only handle this because it makes it seem even more SERIOUS, because you must have the right techniques before going any further with your cooking. So, I gracefully accept my position in the basic class and remember everything they say. I often feel like the teacher’s pet too, because I know about the things they teach us much more than anyone else. I am sure everyone else finds me completely obnoxious, which is, I suppose, my burden to bear.

Some others in the class have a fair level of knowledge too, but others do not. One particular girl in the class seems to have an issue with reflecting on what she’s about to say before she says it. Thusly, she asks idiotic questions regularly.

Now, be forewarned, when I told my best friend about these idiotic questions she said I was being elitist. Let me give you an example of the questions, and we'll decide together if she is an idiot or I am an elitist.

Obviously a dinner this fancy needs an appropriate table.
Today, we started with a béchamel. We know that this requires beginning with a roux, which requires equal parts flour to butter to start. After confirming this several times, she then asked if you use the equal amount of milk as to butter and flour. This is a ridiculous question, because how would you have a bloody sauce if you only used a few tablespoons of milk? Then, she asked if you could make a cheese sauce using BRIE. Are you kidding me?! What kind of tomfoolery is that? What, you’re going to peel the brie? Or are you going to throw in that rind too and expect it to melt? What kind of person destroys a perfectly gorgeous brie by snarking it down into a cheese sauce? Brie is a star- she will allow others in bit parts, but let's not get it twisted. She is not meant to become a background flavour for your broccoli.

We also made pastry today in the class, which was wonderful; but of course she felt the need to ask another stupid question about that. This time however, in a rare moment of self-awareness, she pre-empted her question with, “This may be a stupid question, but…”

WELL, WHY STOP NOW.

Then she asked if the recipe for the pastry dough would be the same for any other kind of tart. As in, "We used this pastry for this quiche, but could you use it for, say, a tart? Or maybe a pie?" OBVIOUSLY. The instructor of the class has patience in epic proportions.

But, despite her occasional interjections, we do make some amazing recipes. And I do learn something new as far as technique every week. Last week, we made an incredible mushroom soup, and, instead of adding our cream to the soup, we made it into whipped cream and topped the soup with a quenelle     of it! What joy that gave me! You know how I adore a jazzy serving opportunity, and that really would highlight my skills.

I came home and made a lobster bisque that night, and of course topped my soup with a quenelle too! Making a quenelle is not as easy as you think. I watched several YouTube tutorials on it, and next time I paint my nails, maybe I'll even make a tutorial too. (But I'm not doing home videos without painted nails, that would just be embarrassing.)

Straining the stock
So here's the recipe for a lobster bisque, in case you want to be fancy one day. Start with 2 lobsters, live or not. I wanted so badly to use live lobsters, and I braced myself for the homicide of the Homarus americanus in my very own kitchen. "A real chef," I told myself, "would use live lobsters. They would never value the life of a crustacean over the necessary freshness of flavour. A real chef would bless the live lobster, they would use every portion of meat for the soup, they would boil the shell into stock, they would HONOUR the spirit of that little homard."

But, I couldn’t bring myself to do it. The potential of self-loathing and sobbing in the powder room for twenty minutes while my guests were here was too great a chance to take. Instead, I used two fresh lobster tails. You will also need cream, celery, carrots, fish broth (if you can find it, otherwise use vegetable or chicken stock- but we will make our own fish broth too) garlic, sherry, tomato paste, chopped tarragon, flour and butter.

Start by cooking your lobster meat- please don't overcook it. Overcooked lobster meat is akin to eating a leather boot. Or a bicycle tire, as the brilliant Albert Burneko would say.  If you are going to use live lobster, I admire you. You can find lots of ways to kill them humanely before they go in the big pot of water beforehand (the general Internet consensus seems to be to drive a knife into the spot behind their heads,) but there is also a movement out there that says because they lack a cerebral cortex (or something) they can't actually feel themselves boiling to death. For me, I had a serious fear of one getting loose into my house and what kind of shenanigans might happen if my dog and I had to chase down a live lobster.

Well isn't that a lovely salad! 
Anyway. You can steam it until the shells just barely turn red, then take it off the heat. Remove the meat from the shell. Now, place the shells in water and simmer for as long as you possibly can to create a stock of sorts. Add whatever aromatics you have kicking around, like a bay leaf or an onion or fish heads. Or whatever.

Now, let's make a roux. Start with equal parts butter and flour (two tablespoons of each works well) and cook in your pot until it smells like cookies baking. (I learned that in my class, yay!) It will look a bit golden, (cook with all your senses, Chef would say) and this is because no one wants their bisque to taste like raw flour. Now add some minced garlic, chopped carrots and celery and sauté until they look translucent. Deglaze your pan with a splash of sherry and let that reduce by half. Now, add your fish stock, plus any extra stock you need to beef up your soup a little. Stir with a healthy amount of tomato paste. At this point, you should have a lovely orange-ish creamy looking type of soup with some veg in it. Simmer for 40 minutes until everything is soft. Then puree.

At this point, your lobster meat has likely cooled. You are going to add it at the last minute before you serve, but just enough to heat it through. Not enough to start cooking it again. You can add a splash of cream to your soup, but you are also going to make it into whipped cream, because your guests need to know this is not some proletariat bisque. This is some next level shit, your bisque is BOURGEOISIE. And you are going to top that soup with a goddamn quenelle, and people are going to know what's up. Sure, they will backstab you. They will say, "Oh, that Bailey. She thinks she's so good because tops her soups all jazzy like." And you know what? They will be right. Because you know you're that good.

(Apparently the theme of today's blog is my unmanageable ego.)

Make your whipped cream. Turn this into a quenelle by giving it three quick rolls between two spoons. There is a wrist action involved- I can't describe this very well. Therefore, I promise to make you a quenelle video soon, and in the meantime, there's this thing called YouTube you can check out.

There you have it. Serve with some nice bread and a salad. (Editor's Note: You are probably not as lucky to have gorgeous, fresh, homemade bread at your dinner table, such as I was. My lovely dinner companion Jenny brought bread, straight out of the oven to this dinner. It was still warm, and it was incredible. This is a late addition because I didn't want to brag.) 

As you enjoy your bisque, think about how awesome you are.

Friday, 21 March 2014

Shaved Fennel and Beet Salad with Goat Cheese


I’m starting to wonder if perhaps we are living in an ice age, and just no one is telling us because they don’t want us to all panic and start hoarding Chef Boyardee and hunting each other and wearing coats made of human hair. (But really, who would ever hoard Chef Boyardee? There are better ways to spend the Apocalypse, like starving to death.)

I’ve been desperate for a taste of spring lately, and even more importantly, I have a mandolin given to me by my wonderful mother, which I had yet to use, until this crowd-wowing salad.

This gift was given to me under the strict contract that I MUST use the handle and not dare touch anything about it with my bare hands. This is due to my inexplicable ability to slice myself with just about anything. In order to honour the Mandolin Accord, I spent an hour delicately trying to assemble it on the counter, piece by treacherous piece, precariously clicking and snapping things together until it resembled something that might slice a radish into an origami-esque sheet.

Miraculously, it worked perfectly, once I hacked the fennel into an appropriately-sized chunk for the hand guide (which was possibly counter-intuitive to the Mandolin Accord, but we won’t tell Mummy,) and I shaved up fennel like it was a Saturday night and Mom was going out with the Bingo girls.

In the meantime, I was roasting beets. This took an hour, with them wrapped in tinfoil at 375°. You can peel them once they’re cool enough to handle. I use rubber gloves, and sort of just rub off the skin. You don’t need the gloves, but without them you may need to explain yourself to the neighbours a little; it can look a bit “Out damn spot!”-ish.

I sliced the beets on the mandolin too, which happened to fit much better in the hand guide for the mandolin. They were just a beautiful sight, in all their fuchsia glory. Then you simply layer the fennel, beets, and some goat cheese on a plate. Put some of the fennel sprawns (Microsoft doesn’t recognize that as a word, so there you go, you learn a recipe and I invent a word,) and some clementine slices all about, then drizzle with a little olive oil. If you have a jazzy vinegar or oil, use that. This blog has a nice dressing recipe too, which inspired my salad.

Let’s promise each other to soak up every ounce of sun this summer, shall we?

Friday, 28 February 2014

Epic Meal Time: Witch's Brew


                  The mythology of my life includes sarsaparilla. It just does. We use to go to this theme park called Rawhide, and I used to drink it in huge amounts. Sarspaholic. I just looked the place up online, and they’re still operational. In fact, their dining room hasn’t changed even a little bit, and they’re still serving Sioux City Sarsparilla! So let’s have some fun and do a little throwback. 

Big project here, y’all. But lots of fun at the same time. You already learned how to make tonic from Bailey, and that’s jazzy, but maybe you drink rum instead of gin (shout-out, Auntie Jo!). You certainly can’t drink rum with tonic, so what’s a girl to do? Make sarsaparilla at home, that’s what. Budget about five days for this.

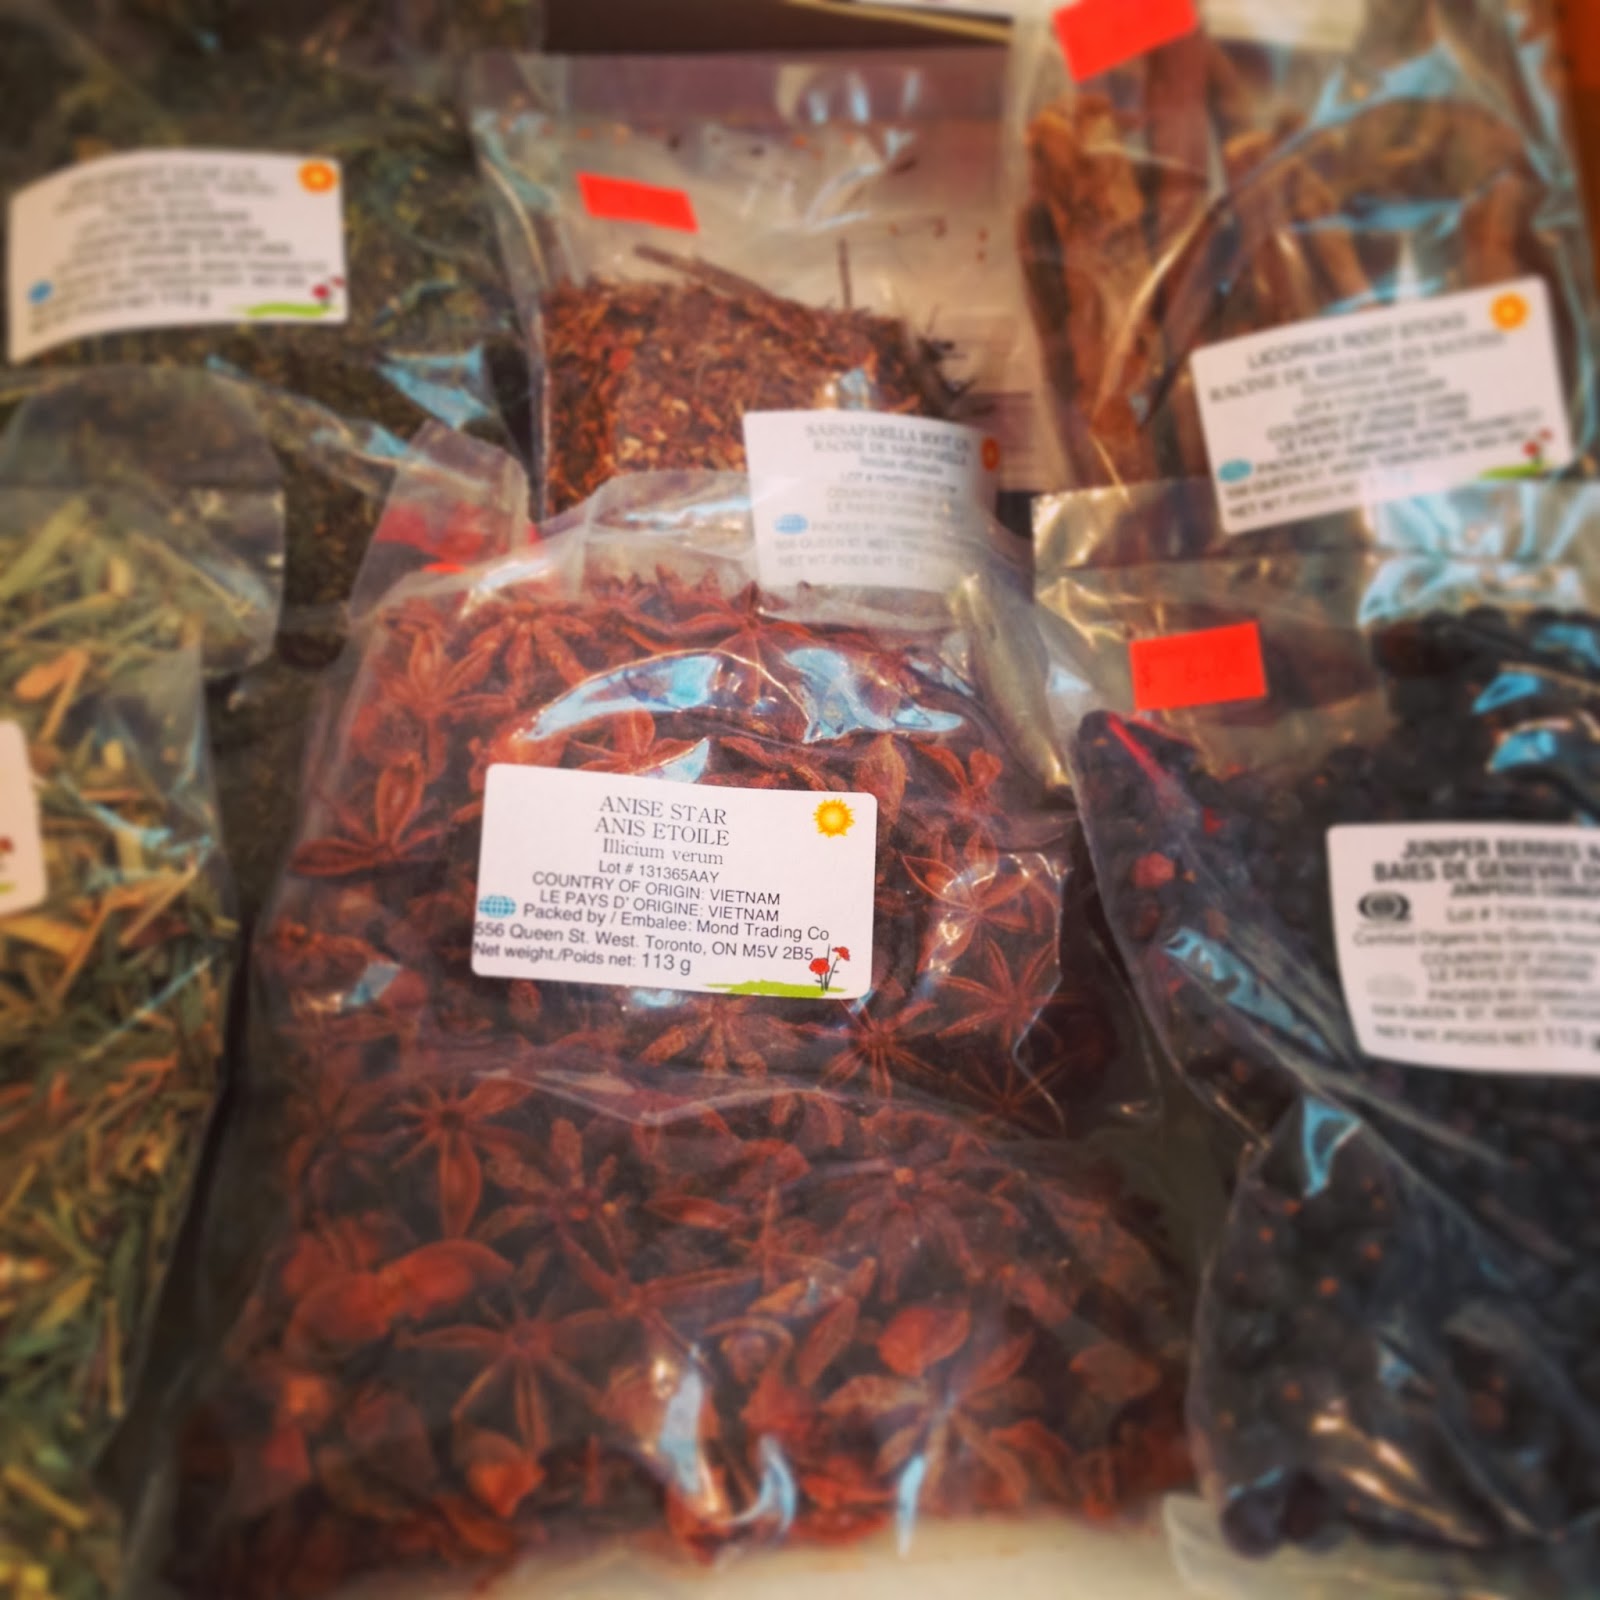
                  The first most important thing to do is a find a witchy apothecary shop. Good thing I work in Toronto now, because Kingston just doesn’t have much in the way of witchery. I found my necessary roots and leaves at Herbie’s Herbs on Queen West. Wonderful little shop, and they carry anything and everything. A Chinese herb shop would also be helpful, I think. Here’s what to buy:
Spices!
  • ·       1/4 cup sarsaparilla root bark

  • ·       1/8 cup spearmint leaf

  • ·       1 Tbsp. licorice root
 (this is about 1 five-inch root).
  • ·       1 Tbsp. ginger root

  • ·       8 star anise pods
 

  • ·       1/2 Tbsp. lemon grass
  • ·       1 tsp. juniper berries

  • ·       2 vanilla beans, sliced long.
  • ·       1/2 crushed cinnamon stick
  • ·       About a tablespoon of cardamom, if you can find it, which my father couldn’t. So no cardamom for me.

Steeping herbs
Fill a large pot with one and a half gallons of water, dump in all your roots, and bring it up to a boil. No need to peel anything. Boil for about five minutes and then reduce to a simmer for a half hour. Remove from heat. Let your roots steep if you like a strong flavour, or you can now strain it into a large vessel. If I had my way, it would be into a large empty culligan. But daddy didn’t have that so I used a stockpot. The thing is, avoid metal because it can disrupt fermentation and give it that weird aluminum flavour. Now add two cups of unrefined sugar plus three tablespoons of dark molasses to dissolve.

This is blooming yeast 
When the liquid is room temperature, add 4 tablespoons of vanilla extract and your carbonating agent. Some people say use a ginger bug, but I didn’t have patience to make that as well. So I used brewer’s yeast, which is actually more fun because now what we’re really making here is beer. A quarter of a teaspoon is about right for two gallons or less (bloom it first in six ounces of warm water). Cover with cheesecloth at room temp for about 12 hours, and then bottle. NOW START TO BE VERY CAREFUL. As yeast ferments, it creates CO2 (obvs, this is what is going to create carbonation). But as the gas expands, it can explode. So, when you bottle your soda, you have to make sure of the following:

  • Don’t let it overheat. Keep it at room temperature or cooler. (But don’t too cold or you’ll kill the yeast).
  • Don’t overfill the bottles. Leave at least an inch of space beneath the seal.
  •  Don’t let them sit for too long before you move them to the fridge. Once in the fridge, carbonating slows down but doesn’t completely stop, so drink them in a timely manner so they don’t explode inside your fridge.
  • Some folks say to use plastic bottles because they’re more flexible, plus you can squeeze them to see how carbonated they are. But plastic bottles are ugly. I used mason jars and I’m just being cautious and it’s working.
Once bottled and sealed (also, I shouldn’t need to say this, but sterilize your jars first), let the jars sit at room temperature for anywhere from 3-7 days. The variability is due to how much sugar there is for the yeast to eat, how carbonated you want it to be, how sweet you want it to be, and if your yeast is active. You’ll start to see bubbles forming at the surface. The longer you let it ferment, the more alcoholic it will be, and the more bitter and “yeasty” as opposed to sweet. Do with that what you will.

When you think all of those factors are where you want it, move the bottles to the fridge. But not before you label them because you’re so jazzy.

Serve over ice, or with some sort of dark liquor.

Howdy. 

Saturday, 22 February 2014

Homemade Tonic Water (with no quinine)


Well friends. We’ve got some excitement coming your way today! We are going to make our very own tonic water, because nothing says, “I’m a pretentious ass- but a likeable one, nonetheless,” better than a craft tonic.

I was in Montreal a few weeks ago, with my besties, and we know how much I love Quebec. So we were at the very sexy Chuck Hughes’s place, Le Bremner, which I highly recommend. The very friendly serving staff informed us that they make all their own cocktail mix, and they don’t do “regular” cocktails, like Le Caesar (which, by the way, was mentioned with a strong disdain- and it could be noted that Caesars are very popular in Toronto, and thusly not en vogue at all in Montreal.)

The Caesar, for our American readership, is the pride of Canada, next only to beavers and maple syrup. It’s the same as your Bloody Mary, but we use Clamato, a tomato juice with clam juice in it. Because we’re hard like that, us Canucks. We roll deep. Anyway, this Caesar debac cause my poor friend Nicky to look crestfallen, because all she had talked about all day was how excited she was for a Caesar. In an effort to save the day, our server offered to make her a specialty cocktail, based on whatever she liked.

As you can imagine, the custom cocktails became a huge hit at our table. I was given a gin cocktail with lavender, rose and various other petals, and it was just about the most delicious thing I’d ever tasted. I Instagrammed, I tweeted, I drank.

Fast forward to last weekend, where my father and his girlfriend basically gave a 24-hour infomercial for a SodaStream, which I was sold on immediately. I go through Perrier and Pellegrino like it’s $0.49/case, which it is not at all. I spend half my monthly salary on fizzy water, because I bloody love it. Obviously, the idea of turning water into soda water is essentially my personal water to wine.

Now I have a SodaStream of my very own, and I realized that I too could create craft sodas and be just like Chuck Hughes. And while I’m at it, maybe I’ll move to Portland.

This all seemed completely doable to me, until I actually googled a recipe for tonic water. Jeffrey Morgenthaler’s recipe seems to be the crowd favourite, and most are based from this one. The issue though, is that quinine and/or cinchona bark are essentially impossible to find. In fact, it’s borderline illegal, and if you need to pass drug tests, I wouldn’t recommend it, since apparently in can show up in your urine as a heroin derivative.

Let’s stay on the right side of the law for now, and just carry on without it. You can find it online, (or in Canada, here) so if you want your tonic water to glow in blacklights, you can still make this happen. But I used a splash of Agnostura bitters instead for the flavour, as well as some jazzy other spices.

You’ll need:
3 cups of water
1 cup of sugar
3 chopped lemongrass stalks
1 orange and zest
1 lemon and zest
1 lime and zest
¼ tsp of citric acid (more if your don’t use fresh fruits)
2 star anise
1 cardamom pod cracked
1 cinnamon stick
¼ tsp of lavender
¼ tsp of cloves
pinch of salt
A few juniper berries (because let’s not kid ourselves, this is going with gin)
A bottle of soda water

To make the tonic concentrate, bring your water to the boil, then add all your spices and sugar. Simmer for upwards of thirty minutes, then strain (use a fine mesh strainer and a coffee filter if you find the bark) and cool. Add the tonic concentrate to the club soda at about a ratio of 1 part tonic, 3 parts water.

But here’s the big takeaway here: you can kind of just make this up (okay, you do need the soda water). Add the quinine if you can find it, add whatever you like. Take other stuff out. Add peppercorns. Do whatever you want, because “tonic” means, “mix up liquids and call it a potion”.  So do your thing. Then make a customized jazzy label, because you can do that too, because you’re awesome, and we’re all Dr. McGuillicuddy at heart.

Next up, I’m going to learn how to make Sarsaparilla. If anyone has a line on sarsaparilla root, get at me!


Saturday, 8 February 2014

Lamb Curry

Have I ever mentioned how much I despise housework? I really do. And more so with every passing year. But today, house cleaning was just downright drudgery. I wanted to just spend the whole day in my jammies watching the figure skating on the Olympics while feeling very sorry for myself for the extremely bad winter we're having. I was thinking I might possibly eat some chocolate and peanut butter toast too because desperate times call for desperate measures. But with age comes wisdom. And I've skipped a weekend of cleaning in the past, only to learn that dirt not only waits for you, it proliferates more than double if you skip a week. And it plots against your happiness and backstabs you to it's germy friends! So like a soldier, I trudged on. But my heart wasn't in it at all. I went in to dust my bedroom, and there on the night table, beckoning me, was the Laura Calder cookbook my girlfriends rigged the Secret Santa party this year to make sure I got! And thank you for arranging that Hallie and Joeanne and Rosemary and Julie! So I sat on the side of the bed and started leafing through it. Housework be damned because this is research! I came across her recipe for lamb curry, and since I just purchased a wonderful lamb from my friend Mary, I decided to give it a try. Especially since I had every single thing the recipe called for in my pantry! So I wouldn't have to gear up with snow boots and parka and toque and ski gloves and warm up the truck for twenty minutes to go to the market. It's as though God made me peruse through that cookbook today.


So let's get to work!

To make 8 servings you'll need as I write it here since this is Laura Calder's exact recipe, but I halved the meat since I'm only serving 2 people. I kept all the spices the same though. And I also added a carrot which the recipe did not ask for, but I like carrot in my curry, so I took some liberty there. And I used sour cream instead of Greek Yogurt since that's what I had on hand. But use the yogurt if you have time to plan this recipe.

Vegetable oil to brown the meat
4 pounds of cubed lamb meat
a 2 inch piece of chopped fresh ginger
8 cloves of chopped garlic
1 chopped onion
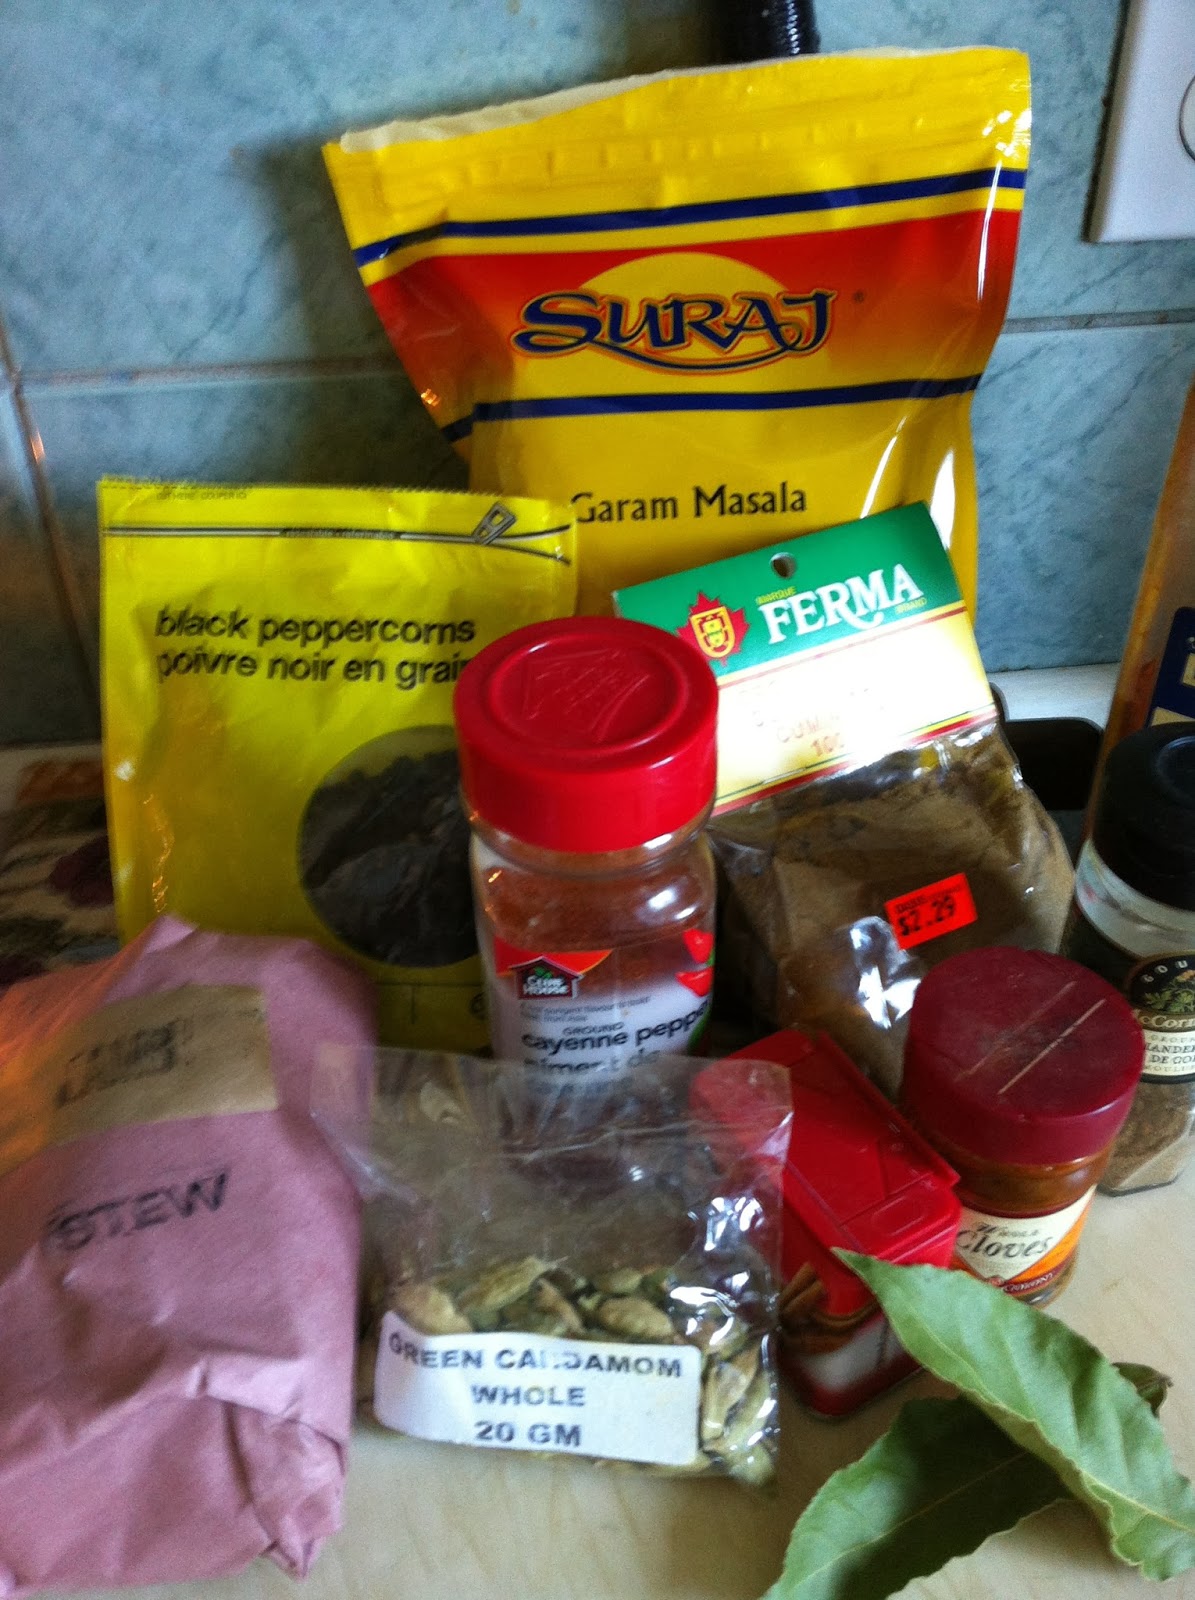
10 green cardamom pods crushed
2 bay leaves
6 cloves
10 peppercorns
1 stick of cinnamon
4 teaspoons of ground cumin
4 teaspoons of paprika or Kashmiri mirch (I used paprika)
2 teaspoons of ground coriander
1 1/2 teaspoons of salt
1/2 teaspoon of garam masala
1/4 up to 1 teaspoon of cayenne pepper (depending how hot you want it) I used 1/2 a teaspoon and it had a lovely, warm heat, but no burn by any means. I'd use more next time.
6 tablespoons of Greek yogurt
freshly ground black pepper and chopped coriander upon serving


I used a cast iron Dutch oven for this. Brown the meat in batches in the oil and set aside. Blend the garlic and ginger with 1/4 cup of water in a food processor to form a paste. After the meat has browned, add the onions to the pot and sauté them gently until softened. Stir in the cardamom, bay leaves, cloves, peppercorns, cinnamon stick and the ginger/garlic paste. Then add the cumin, paprika, coriander, salt, garam masala and cayenne. Add the meat and yogurt (and the sliced carrot if you want it) and 2 cups of water. Stir it all up and cover and let it simmer for about 1 1/2 hours until the meat is very tender. (but I let it simmer for about 2 1/2 hours) Now here is where Laura Calder and I part ways. She tells you to let it cool completely here and refrigerate it overnight and serve it the next day. I get that because the flavours will develop overnight. But Ain't Nobody Got Time for That Laura! We need supper today! So I made it earlier in the day and let it chill and served it up after a few hours. Serve it with rice and a side of dahl (lentils) and Naan bread. Yum! Such a lovely way to warm your belly on a cold winter's day! And I have to tell you this - this was one of the best tasting curries I've ever tasted in my life. So thank you Laura Calder and to all my good friends who paved the way for this day to happen for me!

Saturday, 1 February 2014

French Canadian Pea Soup

This is one of my more ironic recipes. I'm notorious in my family for my hatred of peas. I won't even have them in my house, and if I have to pass by them in the grocery store, I put my head down and ram that cart past them as fast as I can before the wave of nausea overtakes me. Now my LadyGirls on the other hand, adore them. They loved going to my mom's house for supper because she would always give them canned peas with her roast beef dinners. They were delighted!

My pea hatred has come to define my whole personality in a way though, so now I embrace it. I was one of those unfortunate children that was not allowed to leave the table until I had eaten everything on my plate. This is wrong if you practise this methodology in your home. Doctors now say that you should take your child's word for it if they don't like a certain food because there's a good chance they are allergic to it. Also, take their word if they say they've had enough to eat. Over feeding creates obese adults. And not to even mention what you're doing to their mind. It's amazing I only have the one personality! So just stop forcing them to eat everything on their plate. I probably was not a stubborn child until I was forced to eat canned peas. But I remember so many nights still sitting at that table long after my brothers and sister had gone to bed, and refusing to pick up the fork. And with each passing minute, my resolve not to eat them grew stronger. Finally my parents had to get to bed themselves, so the plate was taken away. Another victory for me! Eventually I got old enough to help myself to what went on my plate, eating family style. And I simply did not put any peas on my plate, and nobody spoke of my pea issues ever again. Hahah but oddly enough, I LOVE Pea Soup! I don't know if it's a texture thing or an empowerment issue, but it doesn't matter. Canned peas are yucky and pea soup is delicious, so let's make a big pot of it!

You'll need:
3 cups of dried yellow split peas
8 cups of water
a ham bone
1/4 pound or so of pork belly. Use more if you like it a lot
1 finely chopped onion
2 finely chopped carrots (or one large carrot if you happen to live in the vegetable capital of Canada where there is no such thing as a small carrot)
2 stalks of finely chopped celery
1 tablespoon or so of salt and some freshly ground pepper
1 sprig of fresh thyme
1/2 tsp of dried savoury


Using a big soup pot, bring the water and the peas to a boil and turn off the heat and cover them and let them sit for about an hour. Then add all of your ingredients and bring it back up to the boil and reduce the heat and let it simmer for 2 hours until the peas are very tender. Leave the cover on for the first hour and a half and remove it for the last half hour. Remove and discard the bone. I take out the pork belly and rinse it and chop it and fry it in a pan until its golden and crispy and use it to garnish the soup upon serving. You can choose to puree the soup or leave it chunky. That's entirely up to you, and I'm not going to bully you about food! And that's all there is to it. Taste it for seasoning and add salt and pepper if needed. And since I'm very stubborn and empowered by my pea issues, I serve this with good old saltine crackers that I smash up and add to the bowl. (Such as well adjusted children do.) Enjoy friends!